

Create Videos using ReactJs with Remotion
If you are a python dev, in python you can use code video generator
Remotion is a video generation tool that enables you to programmatically create videos. It holds particular appeal for web developers, as it leverages React as a framework for video creation. This blog post is intentionally concise and focused, aiming to help you kickstart your first Remotion project efficiently. It provides you with essential insights into Remotion’s intricacies, ensuring you don’t waste time on avoidable pitfalls.
Getting started
You will require NodeJs and NPM. Make sure you have them installed.
Run the following command in your terminal to start installing a Remotion Project.
npm init videoYou will get to choose from several templates to get started with various setups already done for you. Eg: one with TailwindCSS already set up or one using various different full-stack frameworks like Remix or NextJs.
❯ npm init video
Need to install the following packages:
create-video@4.0.147
Ok to proceed? (y) y
✔ What would you like to name your video? … TestVideo
? Choose a template: › - Use arrow-keys. Return to submit.
    Hello World                      A "Hello World" starter template
    Next.js (App dir)                SaaS template for video generation apps
    Next.js (App dir + TailwindCSS)  SaaS template for video generation apps
    Next.js (Pages dir)              SaaS template for video generation apps
    Blank                            Nothing except an empty canvas
    Hello World (JavaScript)         The default starter template in plain JS
    Remix                            Remotion + Remix Starter Kit
    React Three Fiber                Remotion + React Three Fiber Starter Template
    Still images                     Dynamic PNG/JPEG template with built-in server
    TTS (Azure)                      Turns text into speech and makes a video
    TTS (Google)                     Turns text into speech and makes a video
    Audiogram                        Text and waveform visualization for podcasts
    Skia                             React Native Skia starter
❯   Tailwind                         TypeScript and Tailwind starter
    Overlay                          Overlays for video editing software
    Stargazer                        Celebrate your repo stars with a video
    TikTok                           Generate animated word-by-word captions
You will just have to run as usual
npm startto start Remotion Studio. Which will host a Remotion player in your port 3000.
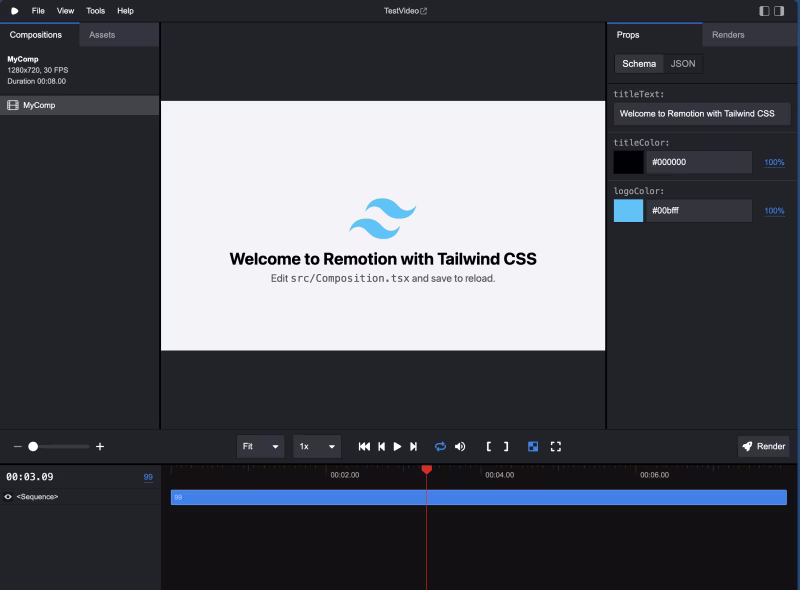
open http://localhost:3000 on your browser and you will see the Remotion Player running.
Editing Videos
There are a few things to know before we start editing videos with Remotion.
- Root: Root component that consists of Compositions.
- Compositions: A section of video you can compose with sequences.
- Composition properties: A composition can have properties like its dimensions, fps, and duration.
- Video configs: The file
remotion.config.jsconsists of all the video render configs, you can set them and the config will be used as defaults in Remotion Studio, note: if you are using SSR this won’t have any effect. <AbsoluteFill />Component: A helper React Component that creates a div with absolute position and fills the frame.<Sequence />Component: Adds a sequence to the composition which can have its own sub-section of frames in the timeline.- Animating using
useCurrentFrame()hook: Always use this hook in your components to animate its components. Read the Caveats below in this post.
Example Root Component
export const RemotionRoot: React.FC = () => {
  return (
    <Composition
      id="MyComposition"
      durationInFrames={150}
      fps={30}
      width={1920}
      height={1080}
      component={MyComposition}
    />
  );
};
You can add more Composition in the Root component, they will be shown on the left side of the Remotion player.
Animations
Remotion supports almost all the animations you can do on a webpage. Basic ones like opacity, CSS-Transform, height and width of an element, as well as more advanced forms of animations like border-radius, shadows, color, SVG path animations, dynamic fonts, linear-gradient as well as CSS filter(), can be animated.
export const FadeIn = () => {
  const frame = useCurrentFrame();

  const opacity = Math.min(1, frame / 60);

  return (
    <AbsoluteFill
      style={{
        justifyContent: "center",
        alignItems: "center",
        backgroundColor: "white",
        fontSize: 80,
      }}
    >
      <div style={{ opacity: opacity }}>Hello World!</div>
    </AbsoluteFill>
  );
};
Caveats
Using Images: You will have to use <Img /> a component provided by Remotion to add images and the source for the image will have to be either imported or has to be imported from /public the directory using staticFile() function. Do not use images as CSS backgrounds.
CSS Animations: Always prefer using frame from useCurrentFrame() hook to animate. Direct CSS animations may lead to choppy animation.
Fonts: Refer to their fonts documentation https://www.remotion.dev/docs/fonts to understand how to use Google Fonts as well as local web fonts.
Additional Packages / Extensions
There are several additional extensions you can use with Remotion. The packages are available through NPM under the namespace @Remotion. To list a few there are extensions to support
- ThreeJs,
- Lottie, and
- Rave.
There is an extension that provides support with basic shapes @remotion/shapes as well.