

DIY Auto sleep feature for a Cheap Multimeter (without a microcontroller)
This is a DIY project to make your cheap Multimeter which you forget to turn off and the next time you try to use it and the battery is fully drained. That happened to me a lot. This circuit can be used on any low-power device, not just a multimeter. The bonus is you don’t need to program an MCU.
So let’s start with the components
- Multimeter
- N-Channel Enhancement type MOSFET
- 2 x 10⁴ (0.1uF) Ceramic through-hole capacitors
- 1 x switching diode
- 1 x tactile switch


The circuit is very simple. As seen in the circuit diagram below. We need to put two capacitors in parallel with the diode in the reverse diode connecting them to the gate and source legs of MOSFET. The positive wire from the battery will be connected to the Gate and the negative to the Source. The drain goes to the negative of the Multimeter and the positive terminal of the Battery remains to + input of the multimeter.

You will have to disconnect the negative wire going from the battery’s negative terminal to your multimeter. And then wire them as above.
I tested it on a breadboard first. I used the multimeter to test the continuity between the gate and the source.
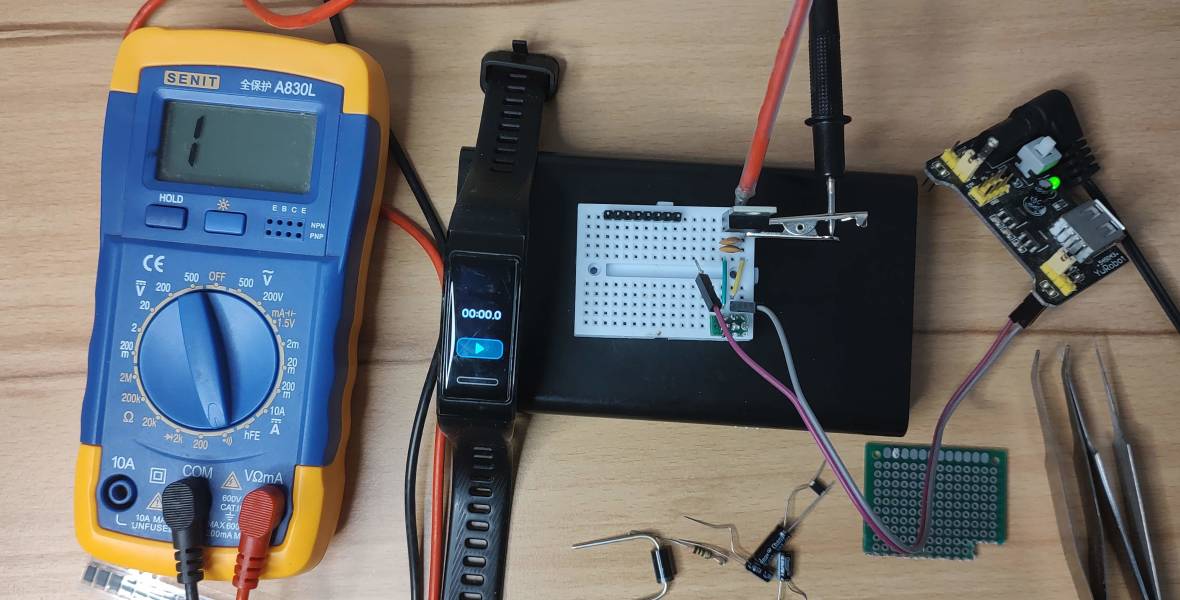
After the testing is done, I soldered the components onto a prototype board and then soldered the power wires from the Multimeter to the gate and source legs of the MOSFET.