
Working with pixels – Bitmaps encoding, decoding, manipulating, and everything in between
So, you might already know I like working with embedded devices. Most of the time you want a display device for your device for obvious reasons. You will have to work with graphics to create a user experience that is a bit more friendlier than a CLI. Showing Icons, boxes, lines, circles, etc.

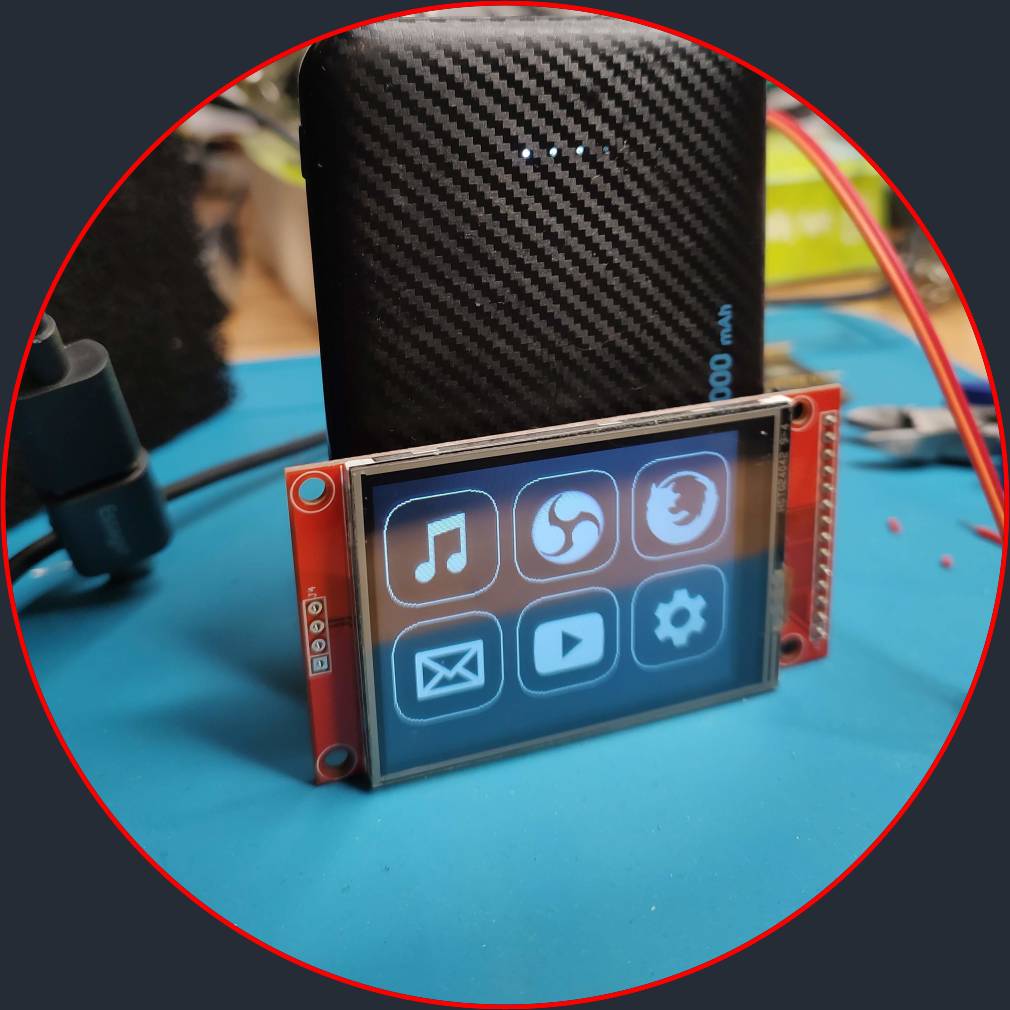

I started working on a Standalone Configurator for FreeTouchDeck last week. It’s a project that creates a user-friendly interface to configure FreeTouchDeck. I used all the latest front-end frameworks and libraries. One of the areas I wanted to improve on was managing icons. The idea was to let users manage icons in the configurator and when they want to upload them to the FreeTouchDeck they can simply click download and all the icons are converted from SVG to BMP and compressed into a zip file and downloaded. The user can unzip the file and upload the icons to the FTD.
In the process of implementing this feature, I faced some challenges. Which language to use to do the conversion, how to host the application?
I started by using Python,
I switched to JavaScript in the end.
The problem at hand is to generate a ZIP file containing BMP icons for a given list of icon names. The icons are fetched from a remote repository, the repo hosts svg icons. The icons are resized to a consistent size, converted to BMP format, and then added to the ZIP file.
Step 1: Setting Up the Environment
The first step is to set up the environment for processing the icons. This involves creating the necessary directories and emptying the icons directory to ensure a clean slate.
function prepareDirs(): void {
  // Create the icons directory if it doesn't exist
  fs.mkdirSync(iconsDir, { recursive: true });
  fs.mkdirSync(iconsCacheDir, { recursive: true });

  // Empty icons directory
  const fileList = fs.readdirSync(iconsDir);
  for (const file of fileList) {
    const filePath = path.join(iconsDir, file);
    if (fs.statSync(filePath).isFile()) {
      fs.unlinkSync(filePath);
    }
  }
}
Step 2: Resizing the SVG Icons
The next step is to resize the SVG icons to a consistent size. For this step, I simply added width and height attributes to the SVG element.
function resizeSvg(svgInput: string): string {
  return svgInput.replace(
    /(viewBox="[^"]+")/,
    `$1 width="${width}" height="${height}"`
  );
}
Step 3: Converting SVG to BMP
The SVG icons are then converted to BMP format using the sharp library. This involves turning the SVG into a PNG and then converting the PNG to BMP.
async function makeBmp(png: Buffer): Promise<Buffer> {
  // Turn black and white
  const rgba = await sharp(png).ensureAlpha().raw().toBuffer();
  for (let i = 0; i < rgba.length; i += 4) {
    if (rgba[i + 3] !== 0) {
      rgba[i] = 255;
      rgba[i + 1] = 255;
      rgba[i + 2] = 255;
      rgba[i + 3] = 255;
    } else {
      rgba[i] = 0;
      rgba[i + 1] = 0;
      rgba[i + 2] = 0;
    }
  }

  const bmpBottomToTop = true;
  const rawData = bmp.encode(
    {
      data: rgba,
      width,
      height,
    },
    bmpBottomToTop
  );

  return Buffer.from(rawData.data);
}
Step 4: Processing the Icons
The processIcon() function takes an icon name as input and performs the following steps:
- Fetches the SVG icon from the icon repository.
- Resizes the SVG icon using
resizeSvg()function from above. - Converts the SVG icon to BMP format using
makeBmp()function from above.
async function processIcon(iconName: string): Promise<Buffer> {
  const iconRepoUrl = `${iconRepoBase}${iconName}.svg`;
  const res = await axios.get(iconRepoUrl);

  const svg = resizeSvg(res.data);
  const iconBuffer = Buffer.from(svg, "utf-8");

  // Render the SVG to PNG using Sharp
  const pngBuffer = await sharp(iconBuffer).toBuffer();
  // await sharp(iconBuffer).toFile(`${iconName}.png`);
  return makeBmp(pngBuffer);
  // }
}
Step 5: Generating the ZIP Buffer
The getZipBuffer function takes an array of icon names as input and generates a ZIP buffer containing the BMP files for each icon.
export async function getZipBuffer(iconNames: string[]): Promise<Buffer> {
  const outputBuffer = new AdmZip();
  prepareDirs();

  // Use map to create an array of promises
  const promises = iconNames.map(async (iconName) => {
    const bmp = await processIcon(iconName);
    outputBuffer.addFile(`${iconName}.bmp`, bmp);
  });

  // Use Promise.all to await all promises
  await Promise.all(promises);

  return outputBuffer.toBuffer();
}
The buffer can be returned as a Response to a request as follows.
return {
      statusCode: 200,
      headers: {
        "Content-Type": "application/zip",
      },
      body: zipBuffer.toString("base64"),
      isBase64Encoded: true,
    };