Dual-axis Joystick module with ESP32 and IPS LCD Screen (Paint App)
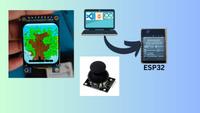
In this blog post, we’ll explore how to build a simple paint app using a dual-axis joystick module, ESP32, and an IPS LCD screen, powered by the TFT_eSPI graphics library. The following components are required for this project.
- LCD
- Dual-axis Joystick module
- ESP32-S3 module
- CH340 or a similar USB to UART
The app features 6 colors that are switchable by pressing the joystick switch. The cursor moves to follow the joystick movement and paints with the selected color.


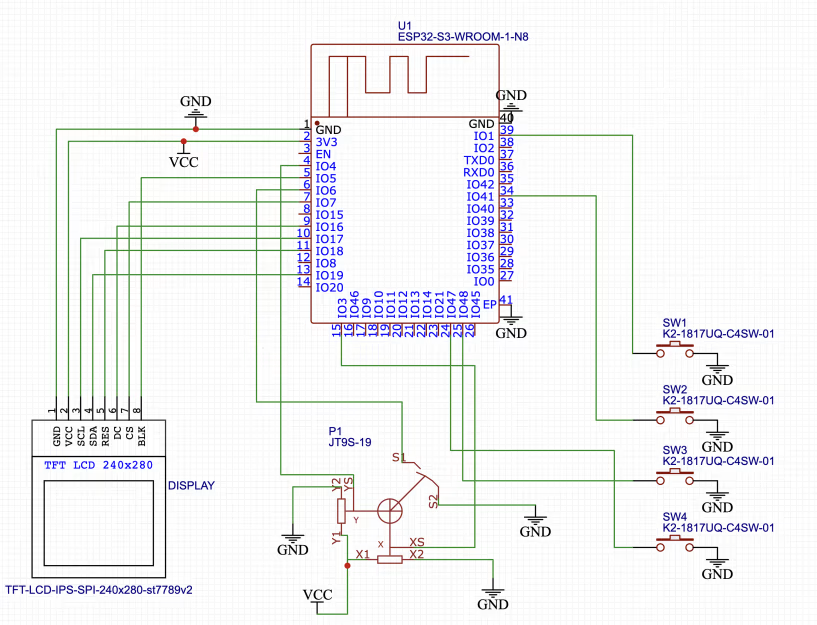
The components are connected as shown in the above circuit diagram. You can connect them as you wish too. The switches on the right are not used in the initial breadboard project yet, but I added them to order a custom PCB so that it supports those four buttons that may be useful for future projects. I have added an early PCB design and 3D view at the end of this post if you are interested in having a look.
Arduino Sketch
#include <TFT_eSPI.h>
TFT_eSPI tft = TFT_eSPI();

bool pressed = false;
int t = 0;

uint8_t color = 0;

uint32_t colors[6] = { TFT_BLACK, TFT_GREEN, TFT_BROWN, TFT_YELLOW, TFT_SKYBLUE, TFT_WHITE };

void setup() {
  pinMode(6, INPUT_PULLUP);

  tft.init();
  tft.setRotation(0);
  tft.fillScreen(TFT_WHITE);
}


void loop() {
  int xValue = 0;
  int yValue = 0;
  int bValue = 0;
  xValue = analogRead(15);
  yValue = analogRead(4);

  bValue = digitalRead(6);

  if (!bValue) {
    if (!pressed && millis() - t > 1000) {
      color++;
      if (color > 5) color = 0;
      pressed = true;
      t = millis();
    } else {
      pressed = false;
    }
  }
  // Screen limits
  int w = tft.width();
  int h = tft.height();

  int x = map(xValue, 0, 4095, 0, w);
  int y = map(yValue, 0, 4095, (h - w) / 2, w + (h - w) / 2);

  tft.fillSmoothCircle(x, y, 8, colors[color], TFT_BLACK);

  delay(50);
}
Video DEMO
Here is a demo of me drawing a tree with the sky in the background.
Custom designed PCB
I have not finalized on PCB design yet but the following is an early design that includes a joystick, display, ESP32, and 4 buttons.
